
Boost Your WiFi Range with a High Gain Antenna
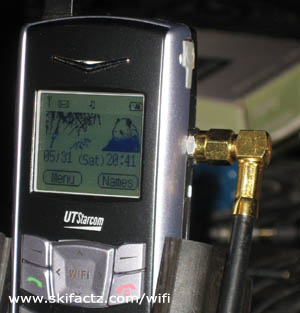
UTStarcom F1000G SIP phone works pretty well with the built in antenna. Adding an external antenna will allow you to connect to a wider range of distant access points with your WiFi SIP VoIP phone.
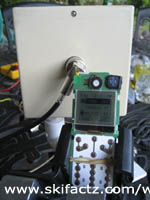
I connected a biquad antenna [Fig.1] to this WiFi phone and noticed that it picks up more access points. I have not done any measurements of the signal gain yet. You’ll have to wait for that report or let me know what you find out if you decide to do it yourself.
First we need to open the phone by following these instructions. [LINK]
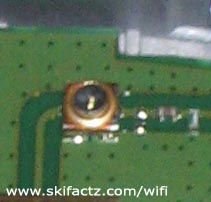
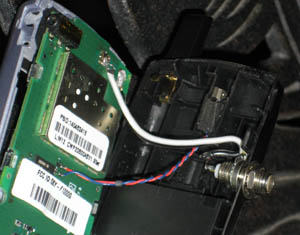
The phone has a miniature external antenna connector already mounted on the PCB [Fig.2]. If you have a matching connector use it. If not you can solder into the PCB.
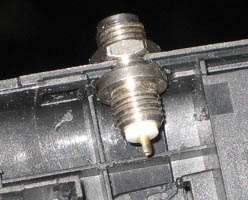
I initially wanted to replace the headset jack with external antenna connector but decided against it due to space constraints. Instead drill a hole on the backside of the phone. Start with a small drill bit and go bigger or use a conical drill bit if you have one.

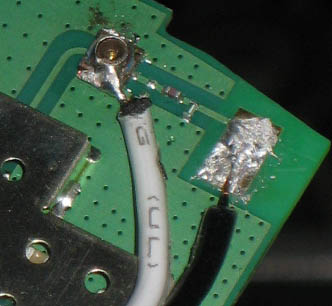
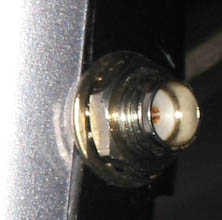
Don’t over drill so your connector can fit is snuggly [Fig. 3]. I used a SMA connector. It protrudes out of the phone which is not very elegant [Fig. 4] but it’s the only way because a coupling SMA connector on a pigtal has to screw on over the barrel.
I suppose that it’s better to use a coaxial cable between the connector and the PCB but since the run is so short I just used regular straight cable. Your soldering iron tip has to be very pointy. The connections are really small. Use a magnifying glass to verify that solder didn’t jump connections.
When done assemble the phone as described in these instructions. [LINK]