
Open the Screwless Assembly
Opening the router will void your warranty.
Since you have probably loaded third party firmware your warranty is gone anyway so you may as well pop the housing open.
There are no screws to remove. The pieces are snapped in place. The front face of the router will separate from the rest of the assembly.
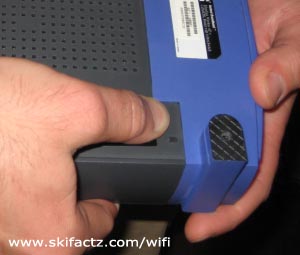
Exercise the plastic with your thumb first [Fig 1].
At this point you are not loosening any snap locks. The purpose is to flex the plastic material so it will come off easier.
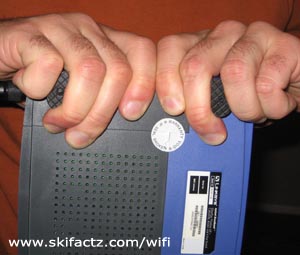
Clasp the feet of the router with your index fingers [Fig 2].
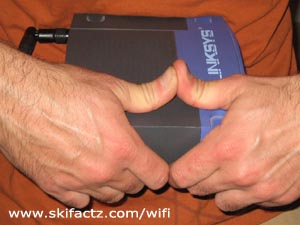
Lean the opposite side wall of the housing on your stomach. Hold onto the pieces tightly and pull [Fig 3].
The first time is the hardest. You will need a strong even pull. Don’t yank as you may end up throwing the router half the way across the room.
When the side you’re working on separates do the same on the opposite end. The other side will snap out easier.
There aren’t easily breakable plastic tabs inside. You could break a piece of plastic as this has happened to me on another router after 9-10 disassemblies but this came as a blessing. This particular WRT54G now opens really easily.
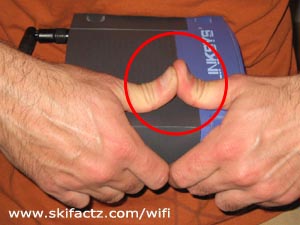
Every subsequent time you open your router will be easier than the previous. After several disassemblies you’ll be able to unsnap the pieces by pushing your thumbs apart [Fig 4].
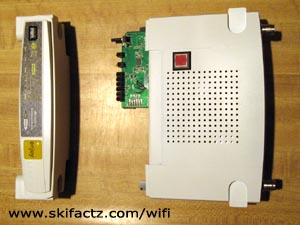
Now that you have removed the face of the housing [Fig 5] take the main body of the router and remove the top. This is done by sliding the cover towards the back connectors.
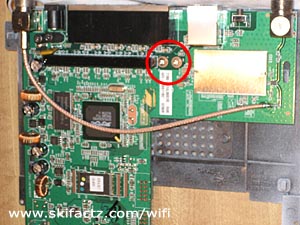
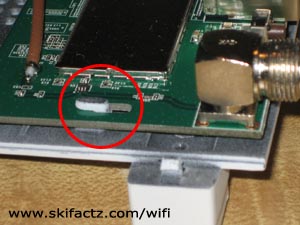
The printed circuit board looks different in different models. In each case it is attached to the bottom of the housing by two screws [Fig. 6]. Remove the screws and slide the PCB off two small side locks [Fig 7].
A note about the WRT54G reset button
There are reports that the reset button retains some level of operation even when the router is powered off.
I highly doubt this but on this particular WRT54GL I accidentally reset the unit while installing a fan. This has probably happened while I had the opened router powered up. It is easy to bump the reset button if you are not careful.
So, before you even open the router take an extra step and back up your firmware adjustments. Take a note of the default IP address (probably 192.168.1.1) and the default user name and password (on DD-WRT “root” and “admin”). If you reset the router all settings will revert to default.
This worked perfectly on my screw-less WRT54G v.2, but my identical-looking WRT54G v.3 had screws hidden under the front foot pads that should have been removed first.
I have the GS v7.x (I’m not getting up to go find out what x is, sorry. I only know it’s not 0 and there was only one version between 7 and 8) and there were no screws. BUT it’s still going to give you an aneurism trying to separate the two halves. If I could go back in time I would use a hot putty knife to slice it in half then tape it back together when I finished my mods.